
GTO - Great Teacher Onizuka 2012 (JDorama)

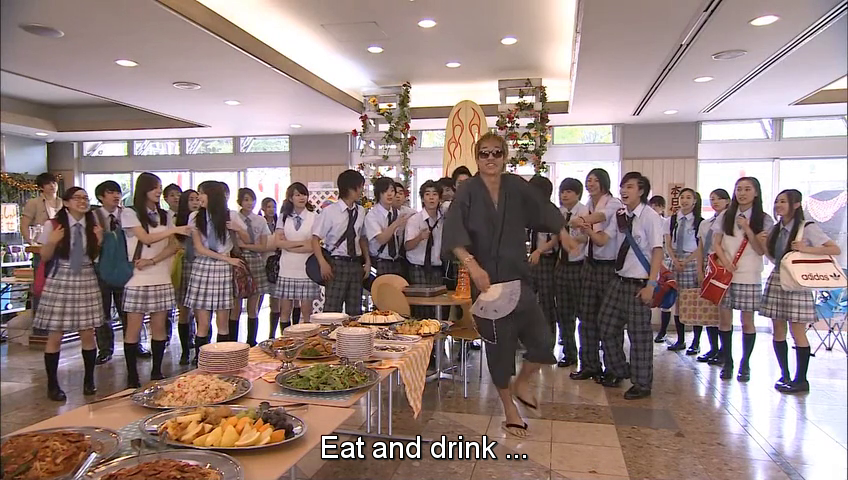
Dorama yang menarik yang mengisahkan seorang mantan pemimpin gang motor, Onizuka, yang menjadi guru untuk mengurusi satu kelas yang bermasalah di suatu sekolah. Dorama ini memadukan berbagai aspek baik komedi, action, dan romance.


Berawal dari pertemuan Onizuka dengan direktur sebuah sekolah yang melihat aksi menarik yang dilakukan Onizuka kepada kepala sekolah di sekolah tersebut, akhirnya ia direkrut untuk mengurus satu kelas yang bermasalah. Dalam tiga bulan sudah 3 guru yang mundur dari kelas tersebut. Permasalahn kelas tersebut ternyata cukup seram, bukan soal kebrutalan atau kenakalan pelajar biasa, namun ada suatu skema terorganisir untuk mengusir setiap guru di kelas tersebut. Pada pertengahan episode, diketahui bahwa siswa di kelas itu berubah sejak kematian seorang pelajar di kelas tersebut pada tahun yang lalu.


Hal lain yang mendukung sikap buruk siswa di kelas tersebut adalah masalah pribadi/keluarga mereka. Mulai dari masalah orangtua yang terlalu sibuk bekerja, keluarga yang miskin, dan orangtua yang hanya memanfaatkan anaknya. Dalam menyelesaikan berbagai masalah, Onizuka sering terlibat perkelahian baik dengan orang biasa maupun gangster. Namun Onizuka yang dulunya adalah mantan pemimpin di suatu gang motor selalu dapat menghadapi dengan mudah. Dia cukup mahir dalam berkelahi dutambah dukungan dari 2 temannya yang juga ditakuti dalam dunia gangster karena kekuatannya. Onizkua sempat mengalami cedera dan sakit parah akibat dia terlalu memaksakan diri namun Onizuka yang penuh semangat berhasil mengatasinya.


Akhirnya Onizuka berhasil menjadi teman dari seluruh siswa di kelas tersebut. Namun masih ada tekanan dari sekolah yang tidak senang dengan cara yang dia terapkan. Pada episode akhir, seorang guru didatangkan untuk menjadi kepala sekolah di sekolah tersebut. Dia menerapkan suatu sistem yang sangat ketat dan sangat menekan seluruh murid dan guru. Lagi-lagi Onizuka dan murid-muridnya berhasil menyelesaikan masalah tersebut.

Comments

Popular posts from this blog

Rangkaian Sensor Infrared dengan Photo Dioda

Keunggulan photodioda dibandingkan LDR adalah photodioda lebih tidak rentan terhadap noise karena hanya menerima sinar infrared, sedangkan LDR menerima seluruh cahaya yang ada termasuk infrared. Rangkaian yang akan kita gunakan adalah seperti gambar di bawah ini. Pada saat intensitas Infrared yang diterima Photodiode besar maka tahanan Photodiode menjadi kecil, sedangkan jika intensitas Infrared yang diterima Photodiode kecil maka tahanan yang dimiliki photodiode besar. Jika  tahanan photodiode kecil  maka tegangan  V- akan kecil . Misal tahanan photodiode mengecil menjadi 10kOhm. Maka dengan teorema pembagi tegangan: V- = Rrx/(Rrx + R2) x Vcc V- = 10 / (10+10) x Vcc V- = (1/2) x 5 Volt V- = 2.5 Volt Sedangkan jika  tahanan photodiode besar  maka tegangan  V- akan besar  (mendekati nilai Vcc). Misal tahanan photodiode menjadi 150kOhm. Maka dengan teorema pembagi tegangan: V- = Rrx/(Rrx + R2) x Vcc V- = 150 / (150+10) x Vcc V- = (150/160) x 5

Setting Up Next.js Project With ESLint, Typescript, and AirBnB Configuration

If we initiate a Next.js project using the  create-next-app tool, our project will be included with ESLint configuration that we can apply using yarn run lint . By default, the tool installs eslint-config-next and extends next/core-web-vitals in the ESLint configuration. The Next.js configuration has been integrated with linting rules for React and several other libraries and tools. yarn create next-app --typescript For additional configuration such as AirBnB, it is also possible. First, we need to install the peer dependencies of eslint-config-airbnb . We also add support for Typescript using eslint-config-airbnb-typescript . yarn add --dev eslint-config-airbnb eslint-plugin-import eslint-plugin-jsx-a11y eslint-plugin-react eslint-plugin-react-hooks yarn add --dev eslint-config-airbnb-typescript @typescript-eslint/eslint-plugin @typescript-eslint/parser After that, we can update the .eslintrc.json file for the new configuration. { "extends": [ "airb

Configuring Swap Memory on Ubuntu Using Ansible

If we maintain a Linux machine with a low memory capacity while we are required to run an application with high memory consumption, enabling swap memory is an option. Ansible can be utilized as a helper tool to automate the creation of swap memory. A swap file can be allocated in the available storage of the machine. The swap file then can be assigned as a swap memory. Firstly, we should prepare the inventory file. The following snippet is an example, you must provide your own configuration. [server] 192.168.1.2 [server:vars] ansible_user=root ansible_ssh_private_key_file=~/.ssh/id_rsa Secondly, we need to prepare the task file that contains not only the tasks but also some variables and connection information. For instance, we set /swapfile  as the name of our swap file. We also set the swap memory size to 2GB and the swappiness level to 60. - hosts: server become: true vars: swap_vars: size: 2G swappiness: 60 For simplicity, we only check the exi

Managing MongoDB Records Using NestJS and Mongoose

NestJS is a framework for developing Node.js-based applications. It provides an additional abstraction layer on top of Express or other HTTP handlers and gives developers a stable foundation to build applications with structured procedures. Meanwhile, Mongoose is a schema modeling helper based on Node.js for MongoDB. There are several main steps to be performed for allowing our program to handle MongoDB records. First, we need to add the dependencies which are @nestjs/mongoose , mongoose , and @types/mongoose . Then, we need to define the connection configuration on the application module decorator. import { MongooseModule } from '@nestjs/mongoose'; @Module({ imports: [ MongooseModule.forRoot('mongodb://localhost:27017/mydb'), ], controllers: [AppController], providers: [AppService], }) Next, we create the schema definition using helpers provided by NestJS and Mongoose. The following snippet is an example with a declaration of index setting and an o

Enabling Single Webcam for Multiple Applications Access in Linux

A webcam can not be accessed by two or more applications simultaneously. The solution is you can duplicate the video stream and make it available for any application. In short, you create a virtual webcam. First, a webcam is commonly detected on  /dev/video* . Before you go through the steps to duplicate video stream, you should check whether your webcam is working. You can try to capture video using VLC by this command. (For example, your webcam is on  /dev/video0 ) $ vlc v4l2:///dev/video0 If it doesn't work, you can try to change its mode to 0777 and make sure there are no other applications accessing it. If it still doesn't work, you can buy a new webcam. Seriously. Don't buy a cheap and unknown-brand webcam. I have $5 webcam and it had wasted my time. $ apt-get install ffmpeg linux-generic v4l2loopback-dkms FFmpeg is the main application that will access your webcam and duplicate its video stream. V4L2loopback is needed to create multiple virtual capture devic

Configure Gitlab SMTP Setting

Gitlab CE or EE is shipped with the capability to send messages through SMTP service as the basic feature to send notifications or updates to the users. The configuration parameters are available in /etc/gitlab/gitlab.rb . Each SMTP service provider has a different configuration, therefore the Gitlab configuration parameters should be adjusted according to the requirements. Some examples have been provided by Gitlab here . This is an example if you use the Zoho service. gitlab_rails['smtp_enable'] = true gitlab_rails['smtp_address'] = "smtp.zoho.com" gitlab_rails['smtp_port'] = 587 gitlab_rails['smtp_authentication'] = "plain" gitlab_rails['smtp_enable_starttls_auto'] = true gitlab_rails['smtp_user_name'] = "gitlab@mydomain.com" gitlab_rails['smtp_password'] = "mypassword" gitlab_rails['smtp_domain'] = "smtp.zoho.com" This is another example of using Amazon SES w