
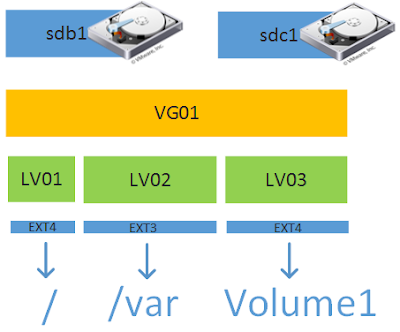
VirtualBox is a free solution to host virtual machines on your computer. It provides configuration options for many components on our machine, such as memory, storage, networking, etc. It also allows us to resize our machine storage after its operating system is installed. LVM is a volume manager in a Linux platform that helps us to allocate partitions in the system and configure the storage size that will be utilised for a specific volume group. There are some points to be noticed when we work with LVM on VirtualBox to resize our storage. These are some steps that need to be performed.
1. Stop your machine before resizing the storage.
2. Set the new storage size using the GUI by selecting "File > Tools > Virtual Media Manager > Properties", then find the desired virtual hard disk name that will be resized. OR, by running a CLI program located in "Program Files\Oracle\VirtualBox\VBoxManage.exe".
cd "/c/Program Files/Oracle/VirtualBox"
./VBoxManage.exe list hdds
./VBoxManage.exe modifyhd <UUID> --resize <size in MB>
3. Start your machine
4. Check your virtual group path by running df -lh, then find a path that is mounted on /. It might be displayed as something similar to /dev/mapper/ubuntu--vg-ubuntu--lv
5. Check the unpartitioned disk by running fdisk -l
6. If an error message like "GPT PMBR size mismatch (20971519 != 61439999) will be corrected by w(rite)." is shown, it means we utilise GPT partitioned drives. Run parted -l then type "Fix". If you re-run fdisk -l, the error message won't be displayed.
7. Add a new partition.
fdisk /dev/sdamto see available commandsncreate a new partition- The partition number is set to the default value (note the number)
- The first sector is set to the default value. It is based on the last sector of the existing partition + 1.
- The last sector is set to the default value
pto show partitions tablewwrite changes
8. Check the existing virtual group name by running pvscan. It might be shown as "ubuntu-vg" or similar things.
9. Review the new partition number from step #7; for example, 4 means the partition is "/dev/sda4". Create a physical volume for the new partition by running pvcreate /dev/sda4.
10. Extend the new physical volume to a virtual group by running vgextend ubuntu-vg /dev/sda4.
11. Review the name of the virtual group path from step #4, for example, "/dev/mapper/ubuntu--vg-ubuntu--lv", and expand the size by running lvextend -l +100%FREE /dev/mapper/ubuntu--vg-ubuntu--lv
12. Resize the file system by running resize2fs /dev/mapper/ubuntu--vg-ubuntu--lv
thank you very much, helped me a lot
ReplyDelete